Tubeless and sealant
Muc-Off No Puncture Hassle tubeless sealant
This is Muc-Off No Puncture Hassle tubeless sealant in a listing that gives no volume in the title. It is a tyre sealant for tubeless tyres.
What you get
- Tubeless sealant from Muc-Off
- Tyre sealant
Why ride tubeless?
Without an inner tube there is no pinch flat, a common cause of punctures. Sealant fills small holes up to roughly 3 to 6 mm, often without you noticing. You are far less likely to have to stop during a ride.
Tubeless allows lower pressures. With no tube, nothing gets pinched on an impact, so you can ride the tyre softer. That brings more grip, more comfort and often lower rolling resistance on rough surfaces. On gravel and MTB it is now the standard.
There are downsides. Fitting is messier and takes patience, sealant must be topped up every few months and a big cut will not seal. You need a tubeless-ready rim and tyre, tape and valves. For a large leak you carry a plug kit or a spare tube.
Tubeless suits people who ride regularly, take on the maintenance and want the benefits. If you ride rarely, a tube is simpler.
Tubeless or inner tube
The two ways to run a clincher tyre.
| System | Punctures | Pressure | Maintenance | Fitting |
|---|---|---|---|---|
| Inner tube | Pinch flats possible | Higher, to avoid pinching | Little. Pressure only | Quick and clean |
| Tubeless with sealant | Small holes often seal | Lower possible, more grip | Sealant every 2 to 6 months | Messier and more precise |
| Tubeless tyre without sealant | No puncture protection | As with sealant | Higher leak risk | Not recommended |
Always use a tubeless-ready rim and tyre of the same standard.
Choose it if
- You have tubeless tyres and want leaks to seal themselves
- You know the brand and want to use it for this size too
- You ride gravel or MTB and want to use lower pressures.
- You want fewer punctures and more uninterrupted riding.
Choose something else if
- You ride with inner tubes: sealant is for tubeless setups
- You ride little and want a setup that needs no upkeep.
- Your rims are not tubeless-ready.
How to set up tyres tubeless
Apply the tape
Clean the rim and apply tubeless tape over the valve hole. Use two layers and press it down well, with no air bubbles beneath.
Fit the valve
Pierce the tape, push the tubeless valve through and tighten the nut firmly by hand.
Fit the tyre
Fit one side of the tyre first and keep both beads in the central well of the rim.
Add sealant
Pour the recommended amount of sealant into the tyre, or inject it through the valve after seating the tyre.
Inflate hard
Use a compressor or tubeless booster until the beads pop. Spin and shake the wheel to spread the sealant, then set your riding pressure.
Good to know
- The volume is not in the title, so check the bottle size on the product page
- Sealant dries out, so renew it after a few months
- Check the sealant after 2 to 6 months. Dried sealant no longer seals a leak.
- Use valves and tape suited to your rim width.
- High temperatures make sealant dry out faster.
- Carry a plug kit or a spare tube for large leaks.
Also in this category
- Muc-Off No Puncture Hassle MTB sealant 500 ml1 shop · Amazon.com.be€16.49
- Muc-Off No Puncture Hassle Road1 shop · Amazon.nl€25.95
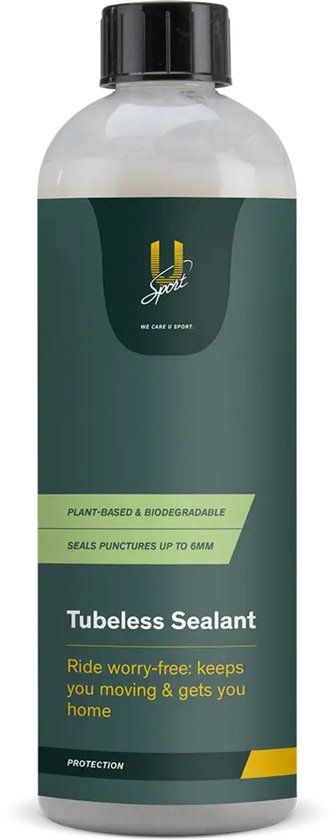
- U-Sport tubeless sealant 700 ml1 shop · bol€31.40
- Injector voor tubeless sealant1 shop · Amazon.nl€9.49
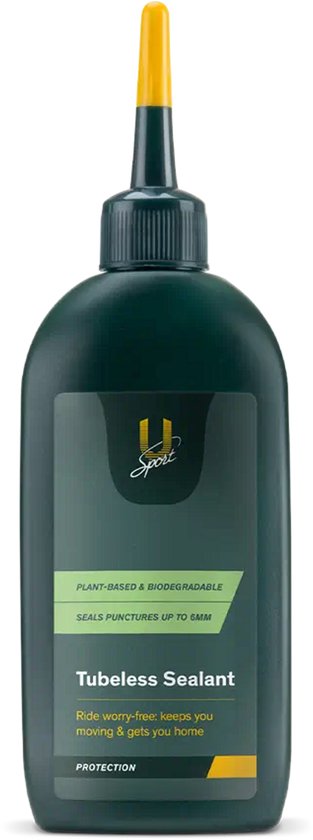
- U-Sport tubeless sealant 150 ml1 shop · bol€16.95
- Muc-Off No Puncture Hassle sealant 300 ml2 shops · Amazon.nl, Amazon.com.befrom €9.49